

Last Updated: November 1, 2026
Quick Summary
To organize photos for a keepsake book, gather every photo into one master folder first, then create folders by year and event before sorting. Set a hard photo limit, choose only the strongest images per section, and build one clear narrative so your keepsake book stays focused.
- Gather all photos into one master folder before sorting a single image.
- Name folders by year first, then by event inside each year.
- Scan irreplaceable prints at 600 DPI for archival copies and 300 DPI for print.
- Use a staged funnel: technical cut, story cut, moment cut, people cut, page-budget cut.
- Pick one organizing system: chronological, event-based, or theme-based, and stick to it.
Table of Contents
- Step 1: Gather Every Photo Into One Place
- Step 2: How to Organize Digital Photos Before You Sort
- Step 3: How to Choose Photos for a Photo Book
- Step 4: Build a Narrative That Holds the Keepsake Book Together
- Step 5: Photo Book Captions and Stories That Give Each Page Meaning
- Step 6: Family Photo Book Ideas for Structure, Pacing and Inclusion
- Frequently Asked Questions
Step 1: Gather Every Photo Into One Place
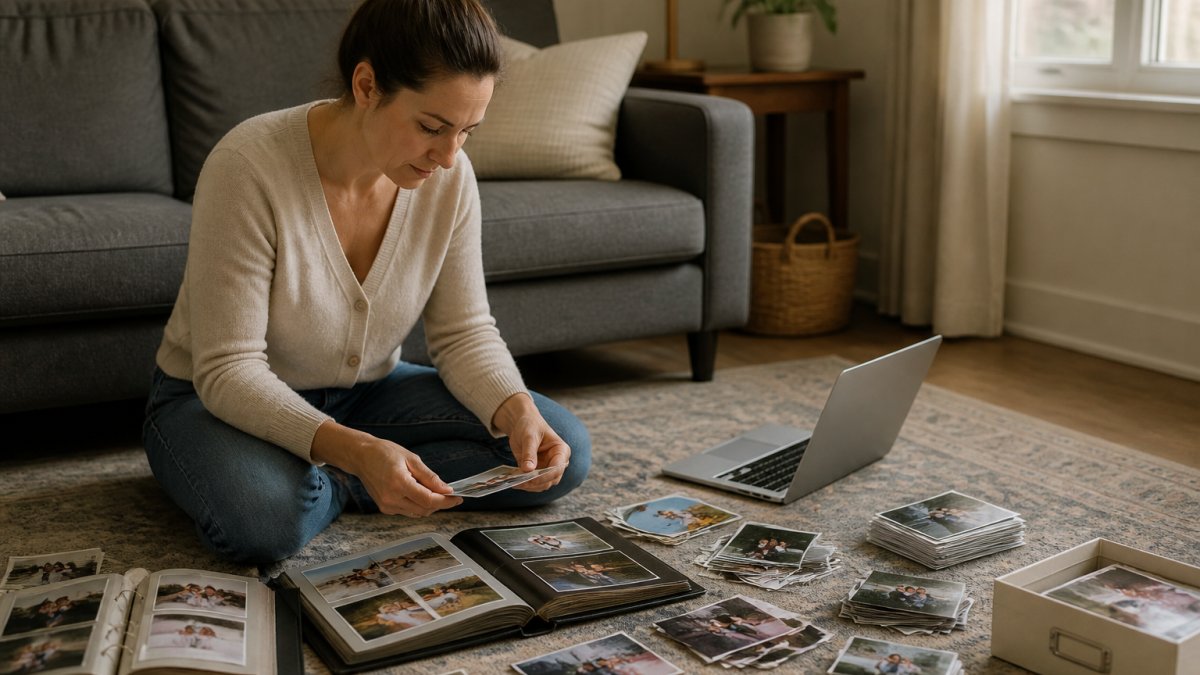
Learning how to organize photos for keepsake book projects starts with one honest move: collect everything first. Most families have pictures spread across phones, laptops, cloud accounts, and old shoeboxes.
The answer is simple. Start by gathering.
Here's how to round up your photo collection:
- Ask siblings and parents to share their folders with you
- Download cloud backups to one computer
- Scan printed photos and old album pages
Don't sort yet. Just gather. Sorting too early slows you down and makes you second-guess every picture.
Step 2: How to Organize Digital Photos Before You Sort
To organize digital photos, create folders by year first, then by event inside each year. This gives every picture a home before you judge whether it belongs in the book.
A simple folder system:
- Name one main folder "Family Photos"
- Add a subfolder for each year
- Inside each year, add event folders
- Move files, don't copy them
- Delete blurry shots and duplicates as you go
A common mistake is skipping this step and jumping straight to design. Before committing your organized photos to a book, it's worth understanding what makes high quality custom photo book printing worth it.
A Complete Digital-to-Print Workflow
Most guides stop at folder creation. The real work is the handoff from phone or computer to a finished keepsake book. Here is the end-to-end sequence that prevents lost files and rework:
- Consolidate and back up first. Before you rename or move anything, copy the entire master folder to a second drive or cloud account. A common pattern is one local drive plus one off-site backup. Never sort the only copy of irreplaceable family photos.
-
Rename files with a consistent pattern. Use
YYYY-MM-DD_event_description(for example,2019-07-04_family-reunion). Consistent names sort correctly and make captions easier to write later. - Run duplicate detection. Use your operating system's built-in tools or a photo manager's duplicate finder. Keep the highest-resolution version and delete the rest. Duplicates are the single biggest cause of overcrowded pages.
- Flag your shortlist without moving files. Create a "Book Shortlist" folder and copy, not move, chosen images into it. This preserves your archive while giving you a working set.
- Export print-ready files. Export your shortlist at a high resolution suited to print and keep the exports in a separate "Print Ready" folder.
- Do a final quality check. Open each exported file at 100% zoom. Look for soft focus, color shifts, and cropping that cuts off faces. Replace any file that fails before upload.
Photo Preservation and Archival Handling
Digital organization is only half the job. Printed photos and negatives need safe handling too:
- Store prints in acid-free, lignin-free boxes or sleeves. Ordinary shoeboxes and PVC plastic pages can degrade images over time.
- Keep prints away from heat, humidity, and direct sunlight. A cool, dry closet beats a garage or attic.
- Scan irreplaceable prints at 600 DPI for archival copies and 300 DPI for print use. Save scans as TIFF for archiving and JPEG for sharing.
A simple rule: scan once, back up twice, and never let the only copy of a photo live on a single device.
Step 3: How to Choose Photos for a Photo Book
The best way to choose photos for a photo book is to set a hard limit and pick the strongest images per section. Once you've chosen your photos, you can see the personalized keepsake book for Mom they can become. Fewer, better photos always beat a crowded page. Aim for a mix of candid moments, group shots, and a few portraits across multiple generations.

A Repeatable Selection Method for Large Collections
When you are staring down thousands of images, rules alone are not enough. Use a staged funnel that shrinks the collection in predictable passes:
- The technical cut (fastest). Delete anything blurry, duplicated, or badly exposed. This typically removes a large share of a phone camera roll in under an hour.
- The story cut. Keep only photos that answer "what happened here?" If you cannot say what the moment was, it does not belong in a keepsake book.
- The moment cut. Keep the single best frame from each event or moment. Twelve shots of the same birthday cake become one.
- The people cut. Check that every close family member appears at least once, and that no one appears only in unflattering or incidental shots.
- The page-budget cut. Decide your page count first, then work backward. A common planning ratio is one to three photos per page, with a few full-page hero images. If you have 40 pages, you need roughly 40 to 120 images, not 400.
| Selection Stage | What You Do | Time Needed |
|---|---|---|
| Gather | Collect all photos in one folder | 1-2 hours |
| Technical cut | Delete blurry shots and duplicates | 30 minutes |
| Story cut | Keep photos with a story | 45 minutes |
| Moment cut | One best frame per event | 30 minutes |
| People cut | Confirm representation | 20 minutes |
| Page-budget cut | Trim to your page limit | 30 minutes |
Avoid Overcrowded Pages
A crowded page is the most common failure in keepsake books. When every inch is filled, the eye has nowhere to rest and the story gets lost. Leave white space, let one image carry a page, and treat busy group shots as accents rather than the main event. If a page feels full, remove one photo, it almost always improves.
Privacy and Permissions Before You Print
Keepsake books often include sensitive family photos, especially images of children and living relatives. Before you print or share, confirm that everyone pictured is comfortable with the image appearing in a bound book that may be given away or displayed. For photos of minors, ask a parent or guardian. For images from other people's cameras or social media, get permission from the person who took the shot.
Personalized Keepsake Book for Mom – Mom, This Is Our Story →
Step 4: Build a Narrative That Holds the Keepsake Book Together
A keepsake book needs a storyline, not just a pile of pages. Pick one organizing system and stick to it: chronological order, event-based, or theme-based. The structure decides page order, and page order decides how the book feels.
The three systems, and who each suits:
- Chronological: Best for a life story, from childhood to now
- Event-based: Best for weddings, trips, and milestone years
- Theme-based: Best for "Mom's kitchen," "family holidays," or "the people she loves"
Watch out: mixing all three systems in one book creates a scattered read. Choose one spine and let every page support it.
Step 5: Photo Book Captions and Stories That Give Each Page Meaning
Captions turn a photo album into storytelling. Every page should carry a name, a date, and one line about why the moment mattered. Short and specific beats long and flowery.
What to write under each photo:
- Who is in the shot, by name
- The year, or the closest you can confirm
- One sentence of context, like "The summer she taught us all to swim"
If writing the words feels harder than choosing the photos, our guide on how to write a heartfelt letter to Mom walks through the phrasing step by step.
Step 6: Family Photo Book Ideas for Structure, Pacing and Inclusion
Family photo book ideas work best when the book has rhythm: open strong, vary the pace, and close with meaning. Plan your page order before you design anything.
Structure and pacing tips:
- Open with a strong portrait or a favorite candid
- Alternate busy group pages with simple single-photo pages
- Group photos by year, event, person, or theme, never randomly
Inclusion matters too. You can also browse featured gifts for the finished keepsake.
As you plan scope, it helps to know what a personalized memory book costs before you decide how many pages and extras to include.
Frequently Asked Questions
How many photos should you include in a keepsake book?
Fewer than you think. A 30-page hardcover keepsake book works well with roughly 13 photos, which means each image earns its own space instead of competing in a crowded grid. If you have 200 candidates, cut to 30, then to 13. Keep the shots that show a face clearly, capture a moment you can describe in a sentence, or mark a turning point in the story. Duplicates, blurry frames, and near-identical group shots are the first to go.
Should photos in a keepsake book be arranged chronologically?
Chronological order is the safest default because it reads like a story with a beginning and an end. It also makes captions easier, since dates and names follow naturally. Break the sequence only when a theme is stronger than the timeline, such as a section on her kitchen, her garden, or the way she laughs. Whatever you pick, stay consistent so the reader is never confused about where they are in the story.
What should you write alongside photos in a keepsake book?
Write what the photo cannot show: who is in it, when it was taken, and why it matters. One or two sentences per image is enough. Add a name, a place, a date if you know it, and one honest detail, like what she said that day or what was cooking in the background. Quotes from siblings and short memories work well too. Specific beats sentimental, and a small true detail will move her more than a paragraph of adjectives.
How do you handle old printed photos and albums when making a keepsake book?
Store the originals somewhere cool and dry, away from direct sun. Do not glue, trim, or write on the backs of irreplaceable prints. Handle them by the edges, and keep them in acid-free sleeves if you plan to store them long term. Once scanned, name each file with the year, event, and people in it so the digital version stays useful after the book is finished.
Gathering photos, sorting them, and shaping them into a story takes real effort. We built our keepsake books to carry that effort somewhere it lasts. Each 30-page hardcover book holds up to 13 of your chosen photos, your own words, and Mom's name alongside yours, with a proof you approve before printing. Production takes five days after you approve your proof, and shipping follows.
Get started with Stories, With Love Co. and turn your scattered photos into a keepsake she can hold.
